

Guide for DIY Pavers
how to make a stone mosaic pathway

Hello,
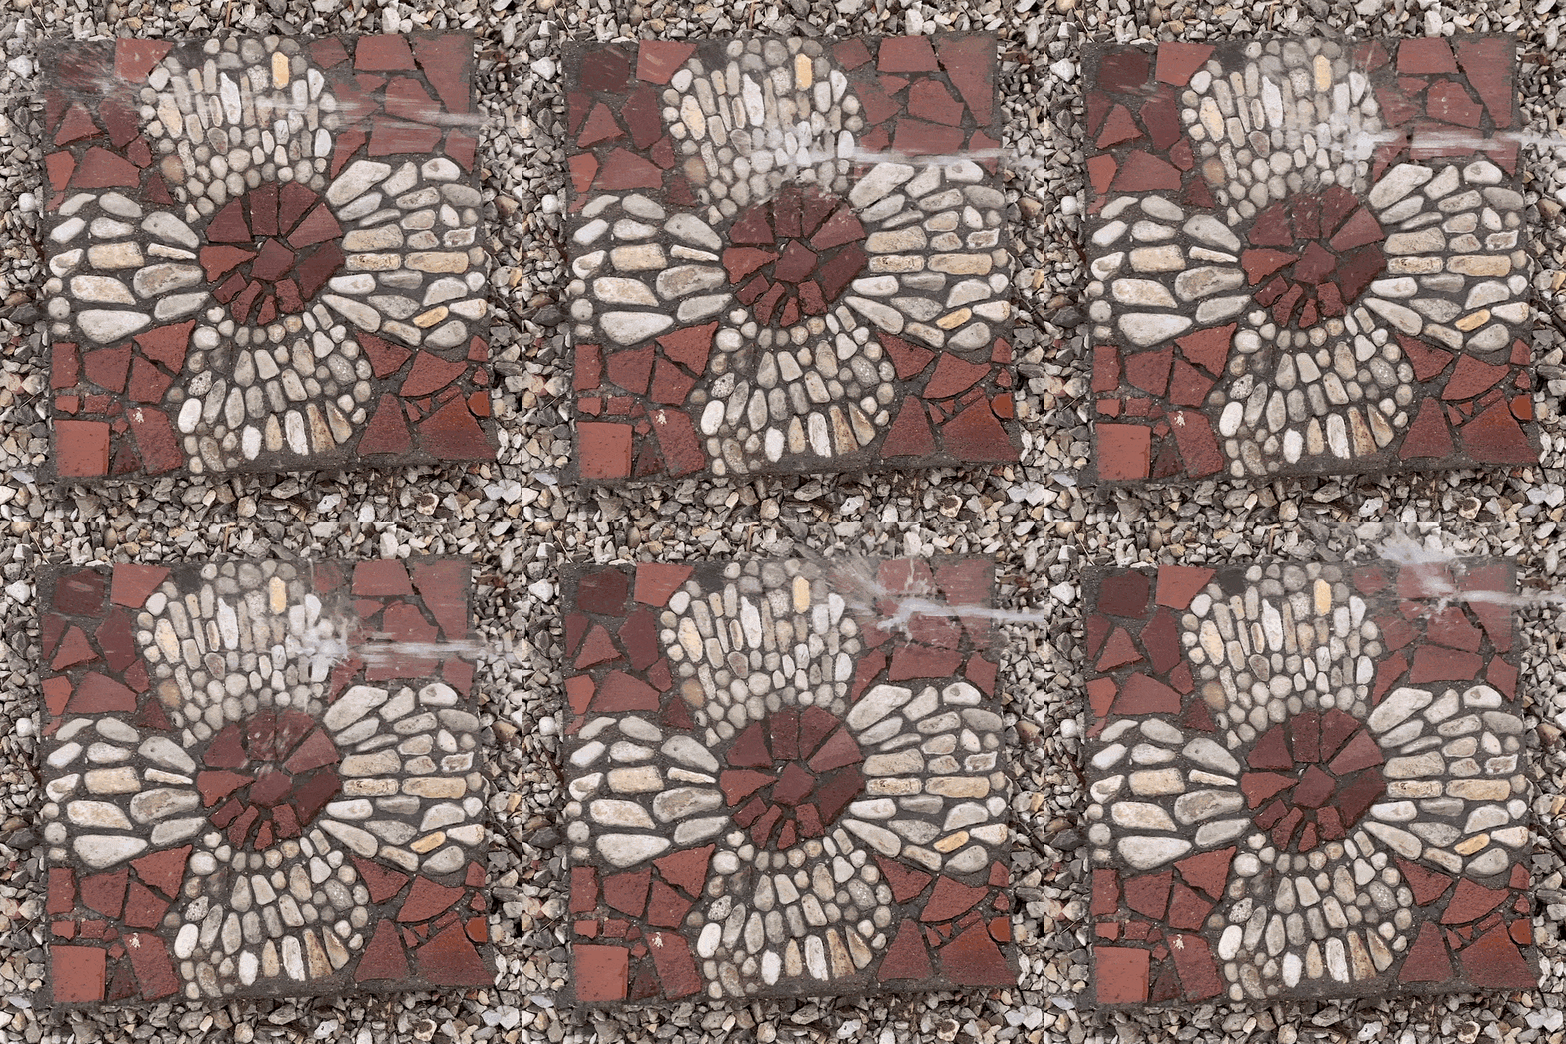
You might have seen some of my paver creations on social media. I’ve received many questions on how I create them so here is a full guide based on some of my trials and errors. I’ll walk you through the materials you’ll need and the step by step process. This is such a fun summer project so try it out!
*I’ve made a list of supplies on my Amazon storefront. If you need anything on this list, click here to save some time and support my work :)*


First things first, gather your materials
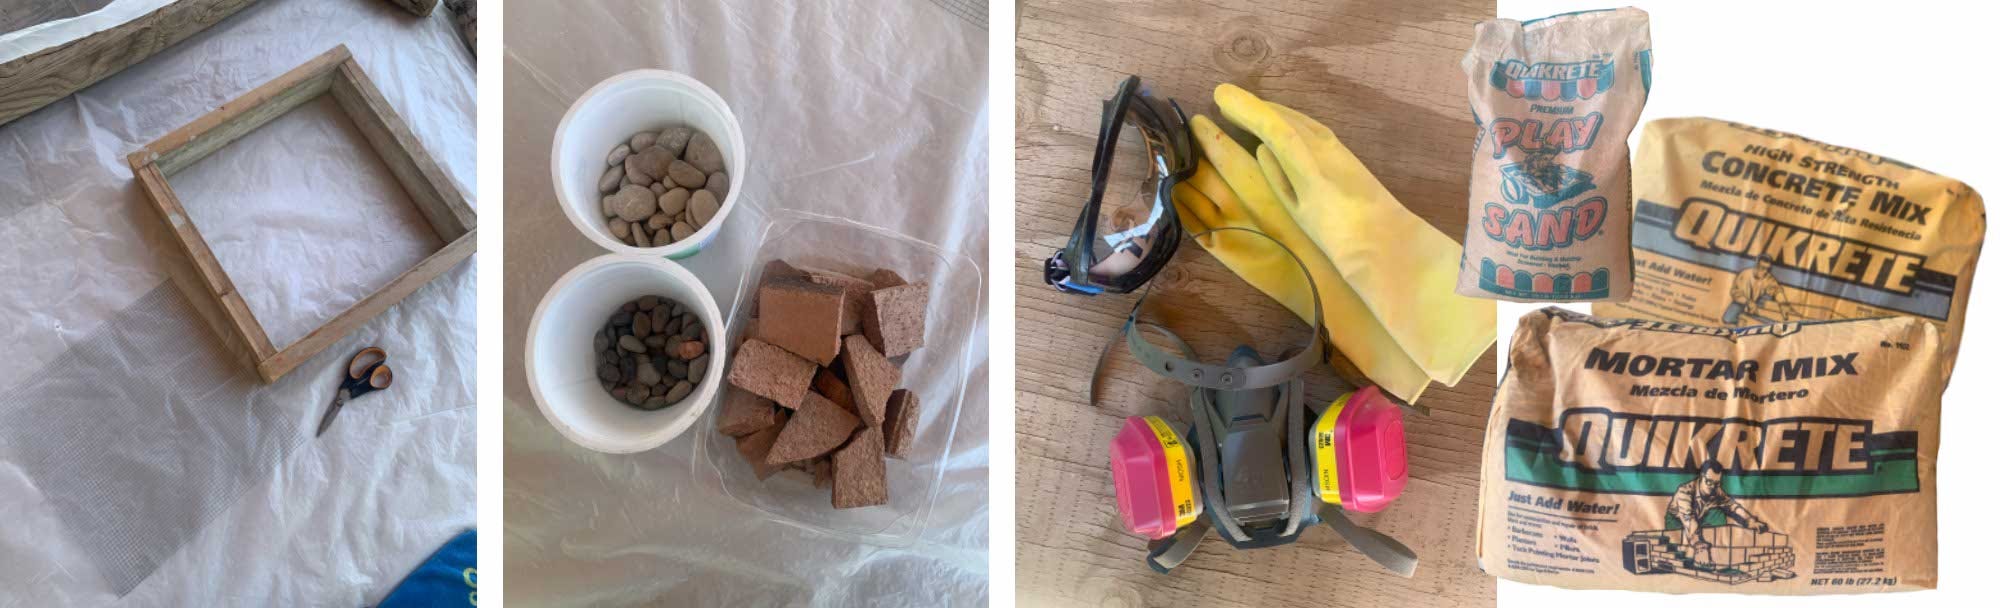
Wooden mold
I made mine out of 2x4’s. They unscrew easily on the sides when I want to take out the mold. The mold dimensions is 17 x 17 inches.
I really liked the ability to dissemble the mold easily, so I looked on Amazon and found a similar reusable mold you could use if you don’t want to create your own. Link here.
Hardware cloth
I used 1/4 inch galvanized hardware cloth. This helps preserve the structure of the cement, since the pavers are going to be outside exposed to the elements and stepped on. You could use any wire metal but make sure it’s galvanized so that it doesn’t rust with the inevitable water seeping in and damage the cement structure.
Alternatively, you could use fiberglass mesh.
Aviator scissors or wire cutters for cutting your hardware cloth
Sand
This is for keeping your rocks/tiles in place when you are decorating.
Decorating materials
River rocks, tiles, marbles, glass, etc. The possibilities are endless.
Cement mix
I like to do a layer of mortar mix right on top of my rock designs, and then do a layer of concrete mix. This is because mortar is made with sand particles and covers intricate designs better than concrete which is more gravely. You could do just mortar or just concrete.
It takes me about a 60lb bag of cement mix to make one paver (half a bag of mortar, half of concrete).
Personal protection equipment
You want to use a good mask and safety glasses when mixing the cement, and wear gloves when handling the mix.
I love my 3M reusable respirator with cartridges! I also use it when I’m processing my pigments.
Metal trowel for leveling the sand and cement. I use one that’s 11 x 4 inch.
Cement sealer
This is used for making the cement water resistant and aids in preserving the structure. An optional step to add some durability.
Plastic sheeting for a tidy work space.
*Shop for these materials here*
Step by Step
Preparation
Making pavers can get messy, so prepare your space with a plastic sheet and designated area. Also, consider setting up a space you would be comfortable working in, as you might spend a couple of hours arranging your design.
Cut the hardware cloth slightly smaller than the size of your mold. Set aside.
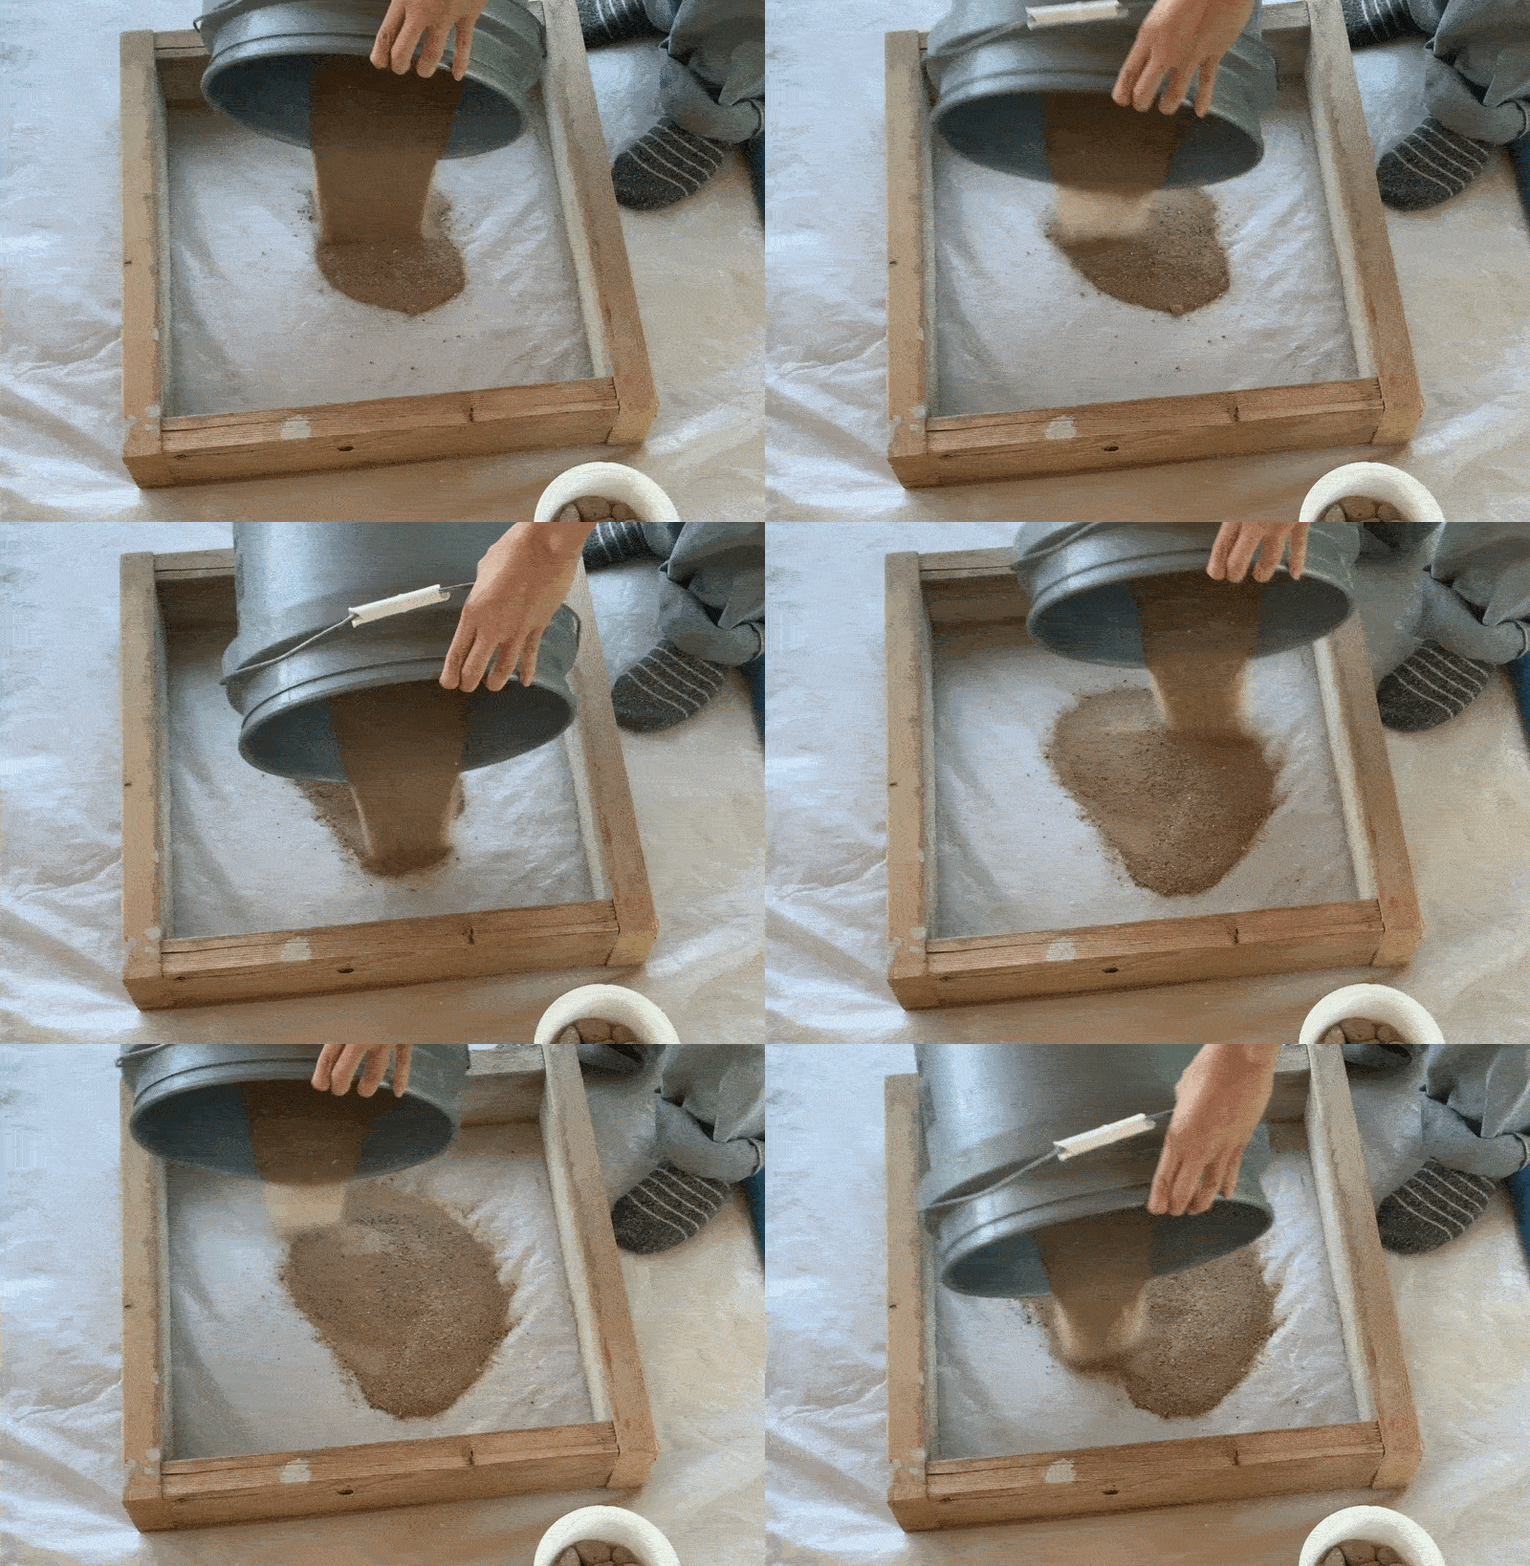
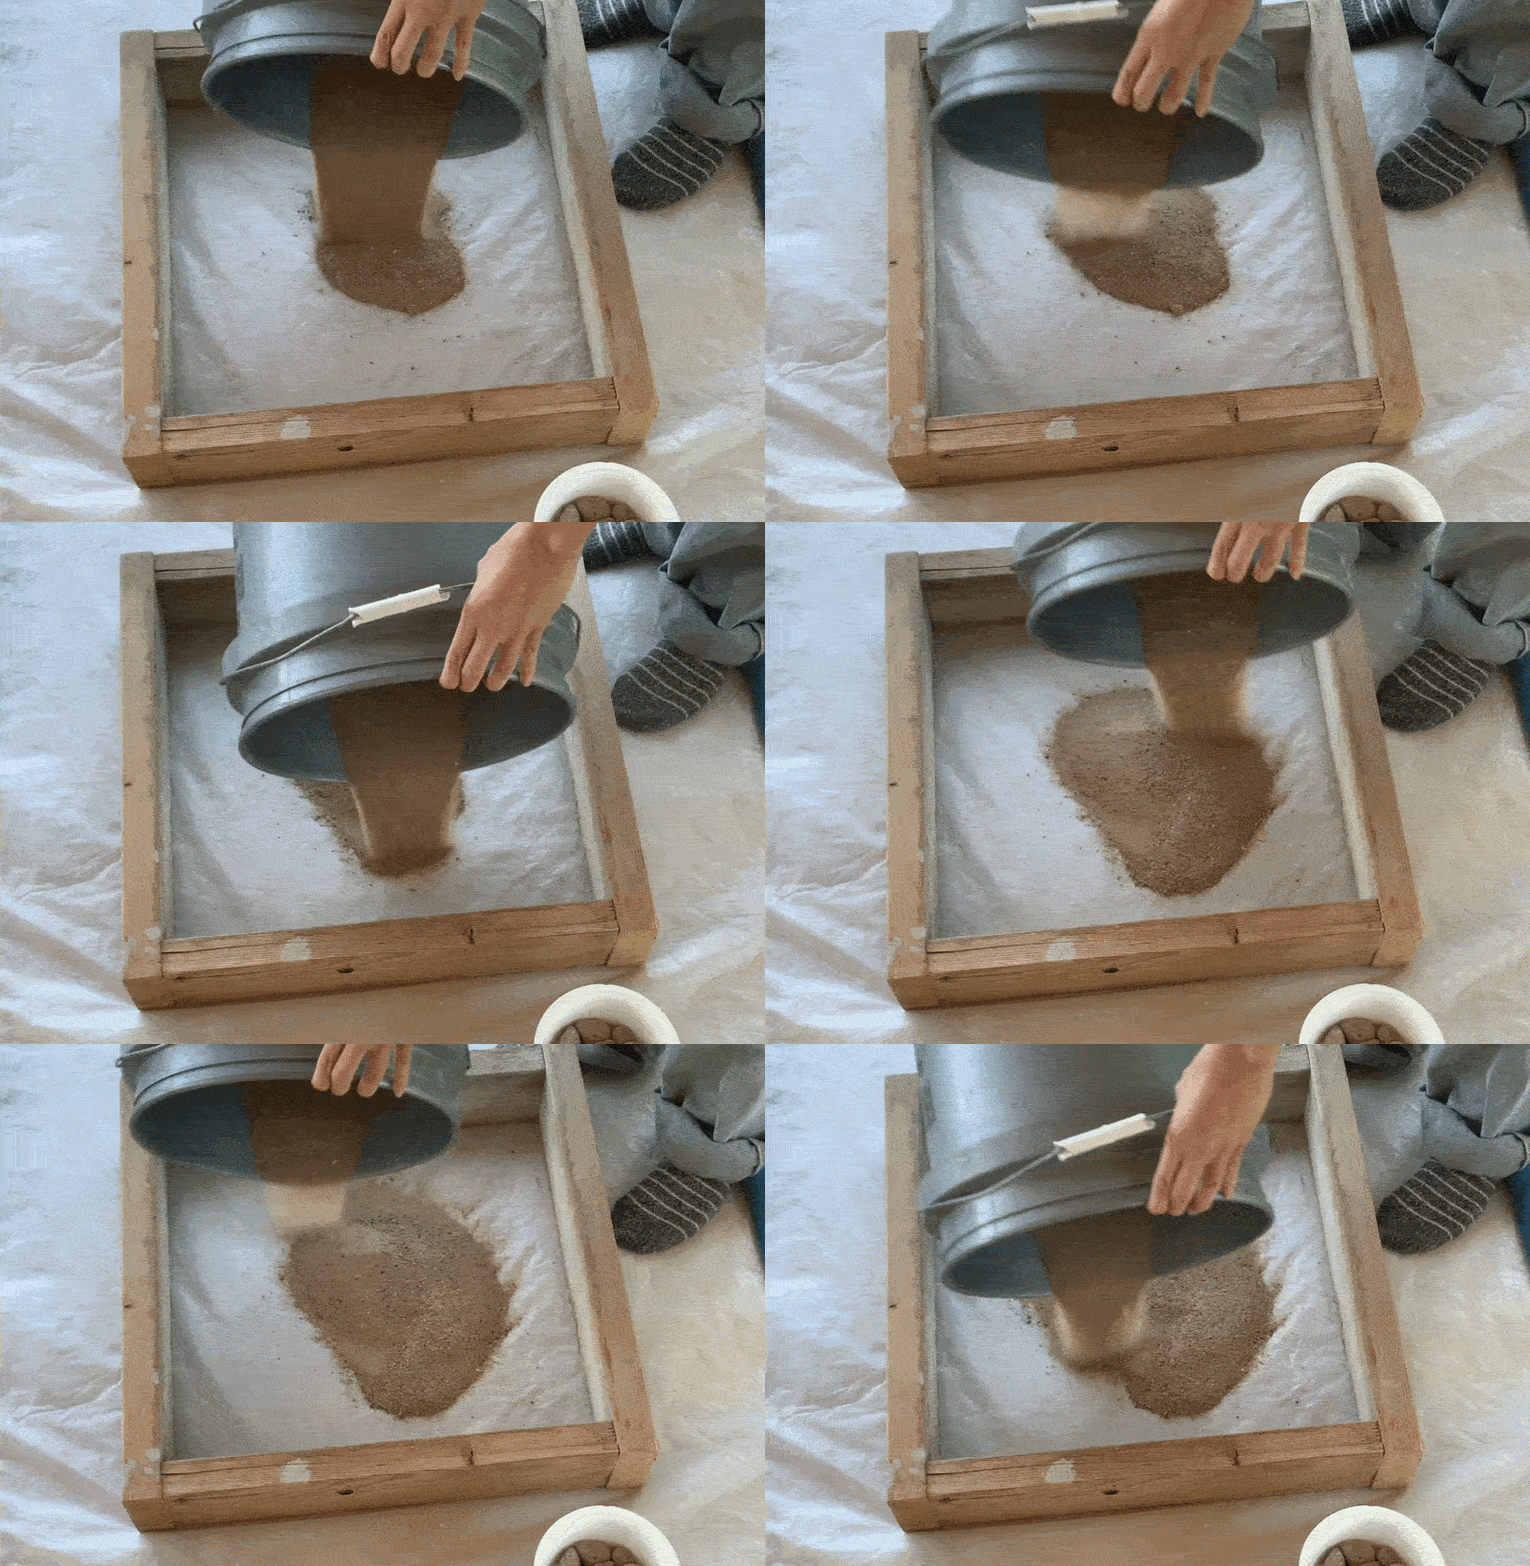
We’ll be working the design from the bottom up. The bottom will be the top part of your paver. Cover the bottom with 1/4-1/2 inch of sand and level with a metal trowel.
Design
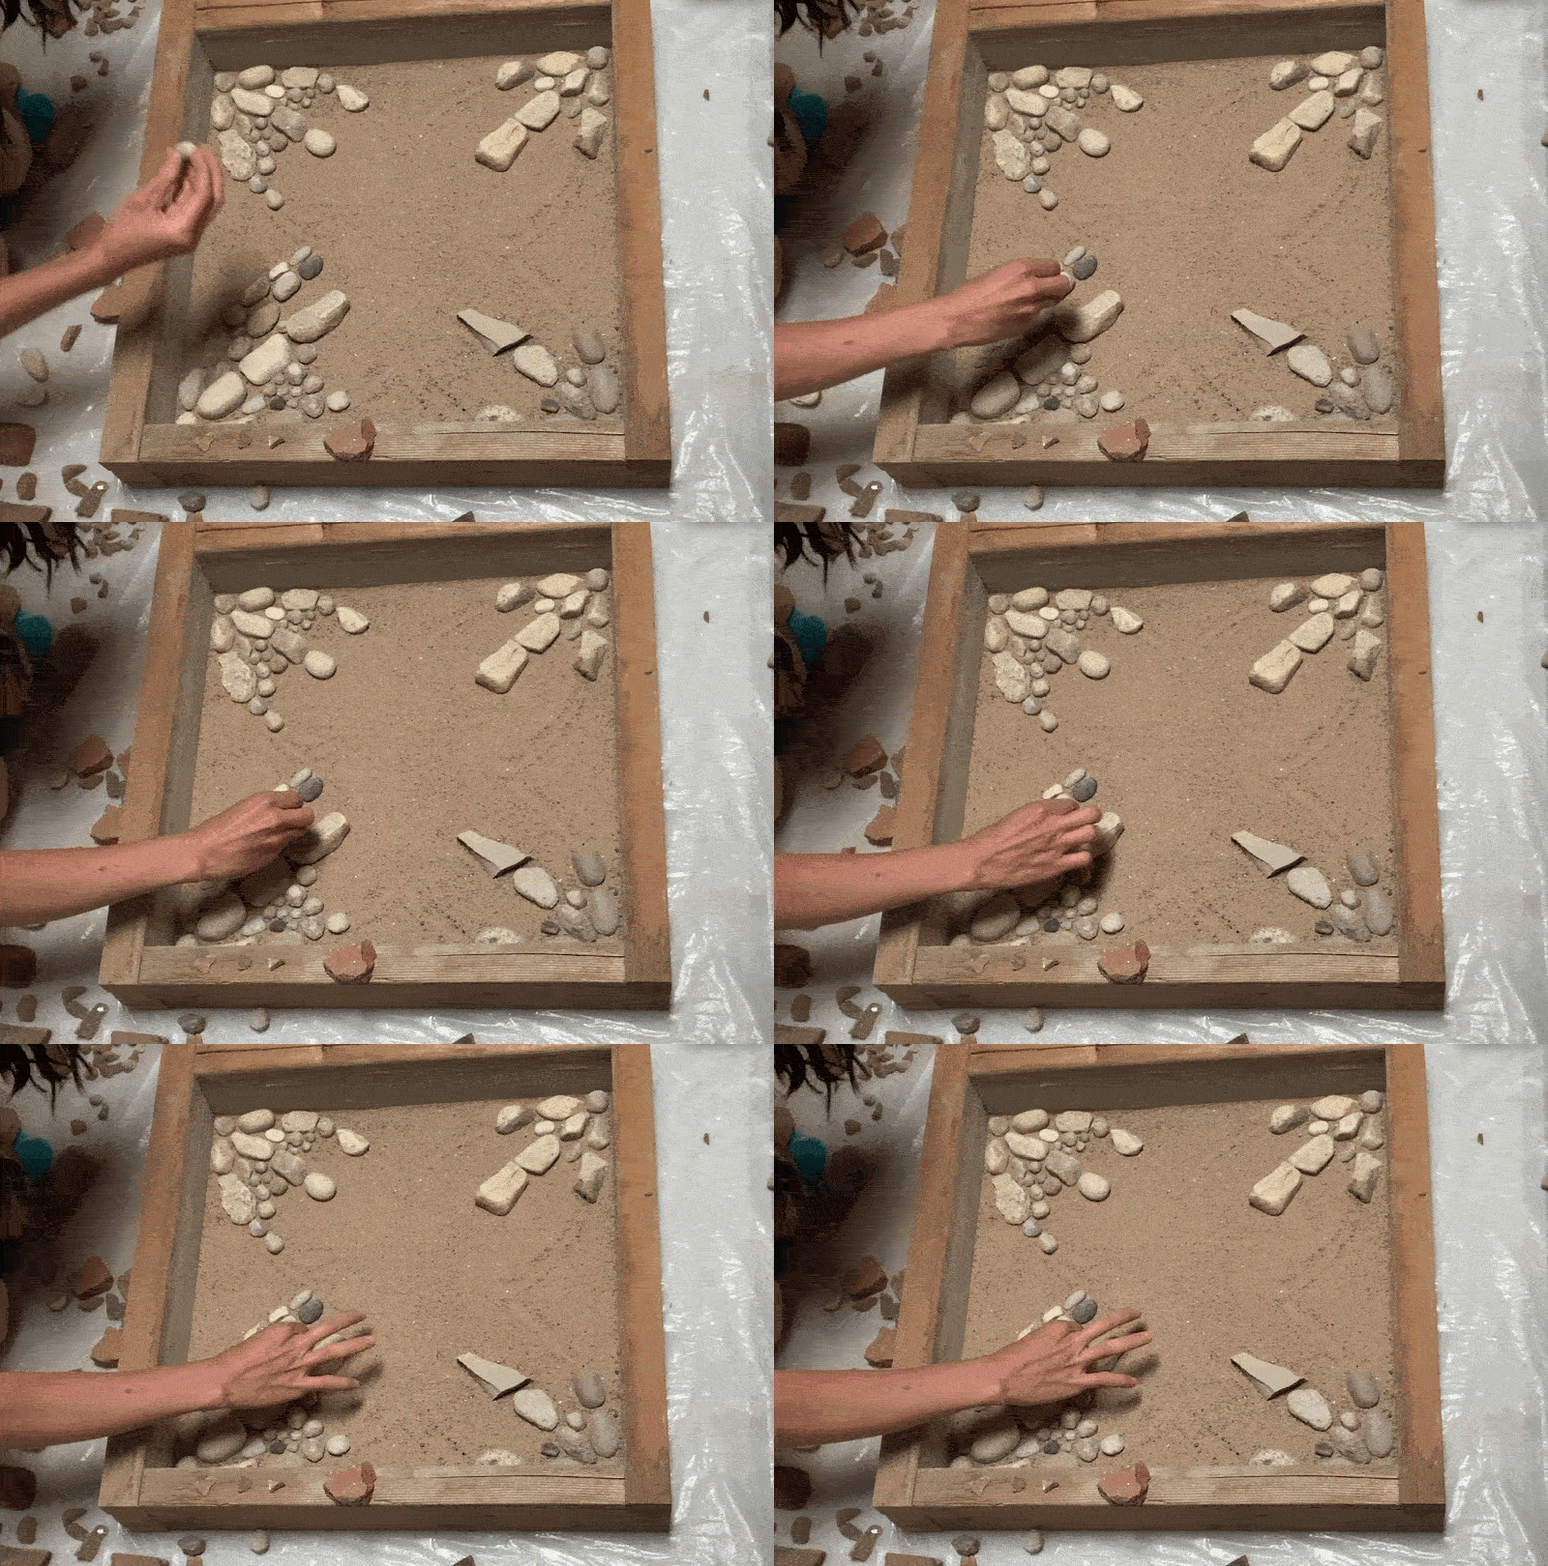
Begin making your design. Remember we’ll be working from the bottom up so place your rocks with the side you want showing directly in the sand.
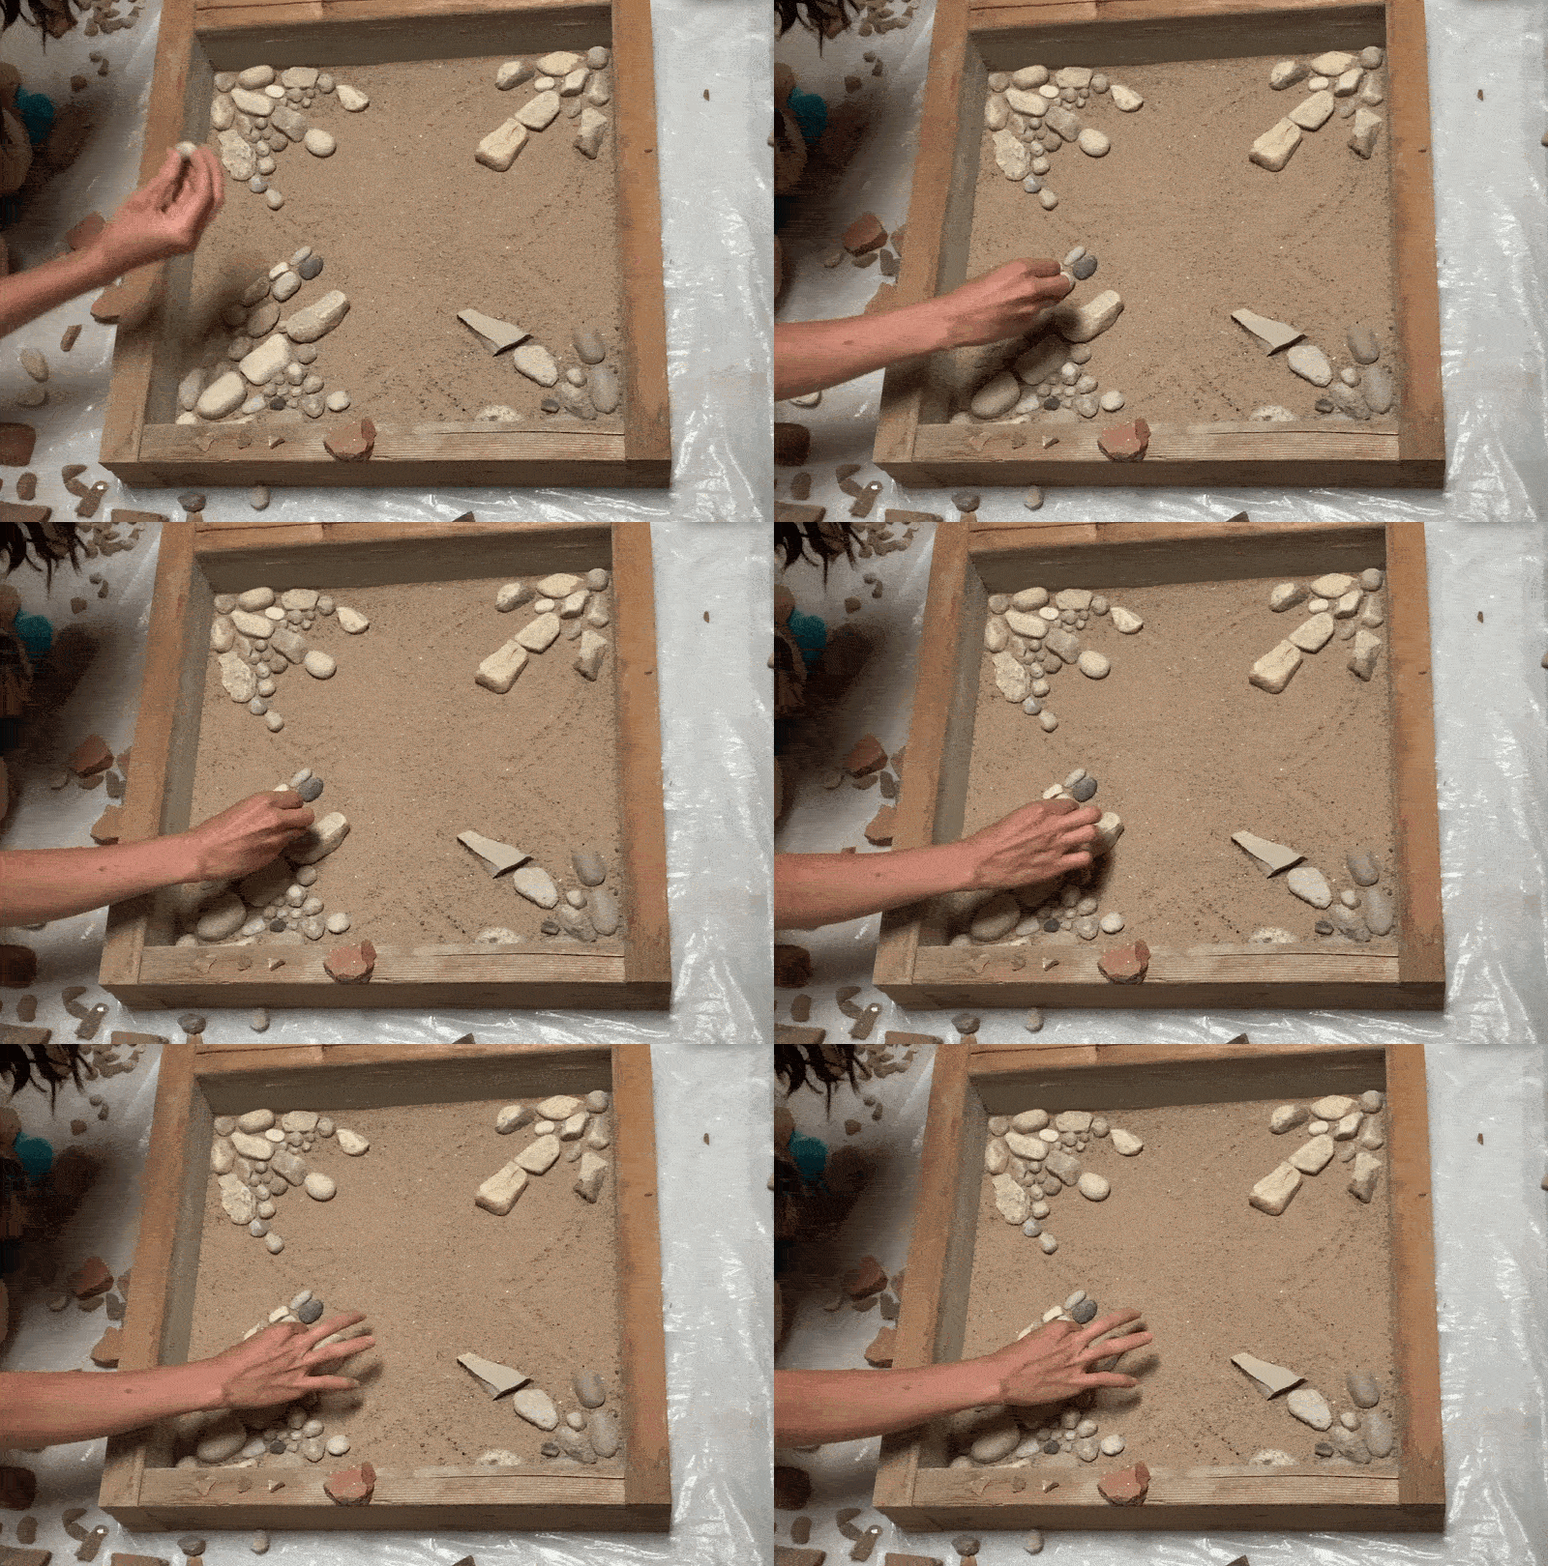
I like pressing the rocks a little bit under the sand. The more you press, the more protruded they’ll become. Here are some photo references to see which style you like best.
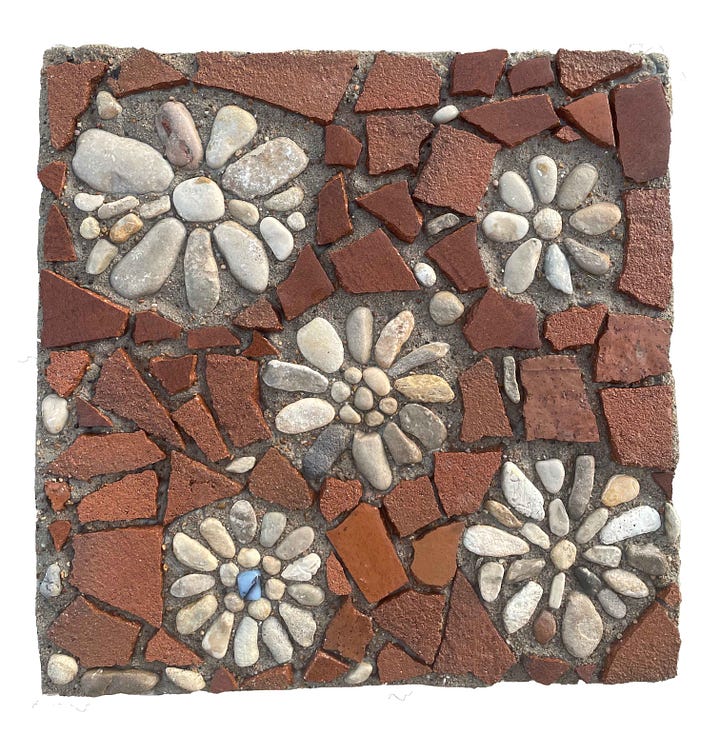
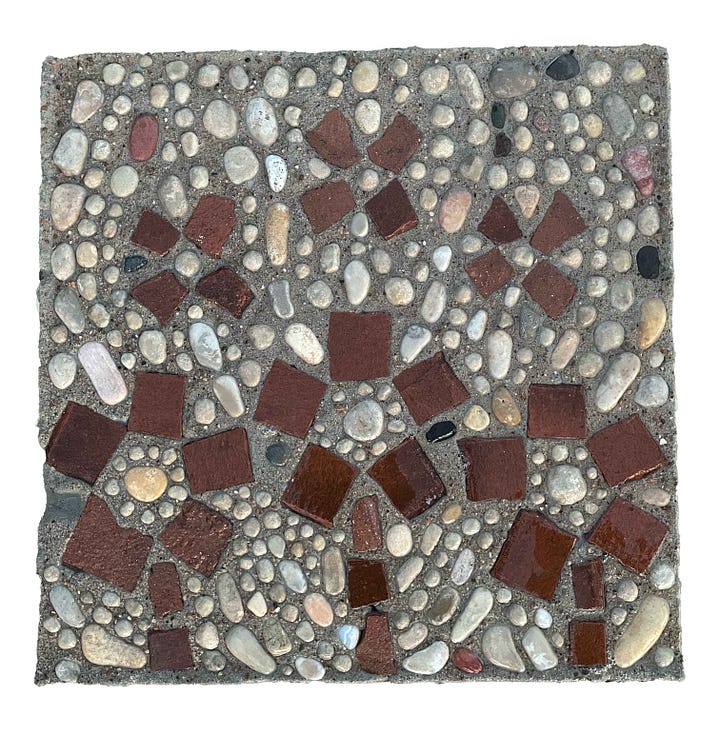
Paver on the left was pressed more into the sand than paver on the right. Another tip for designing with rocks: Look for contrasting differences like different colors, shape, size or material. The more contrast, the more defined you can make your design. Examples: black vs white rocks, rocks vs tiles, elongated vs round rocks.


Pour cement
Once you are happy with your design, it’s time to mix the cement.
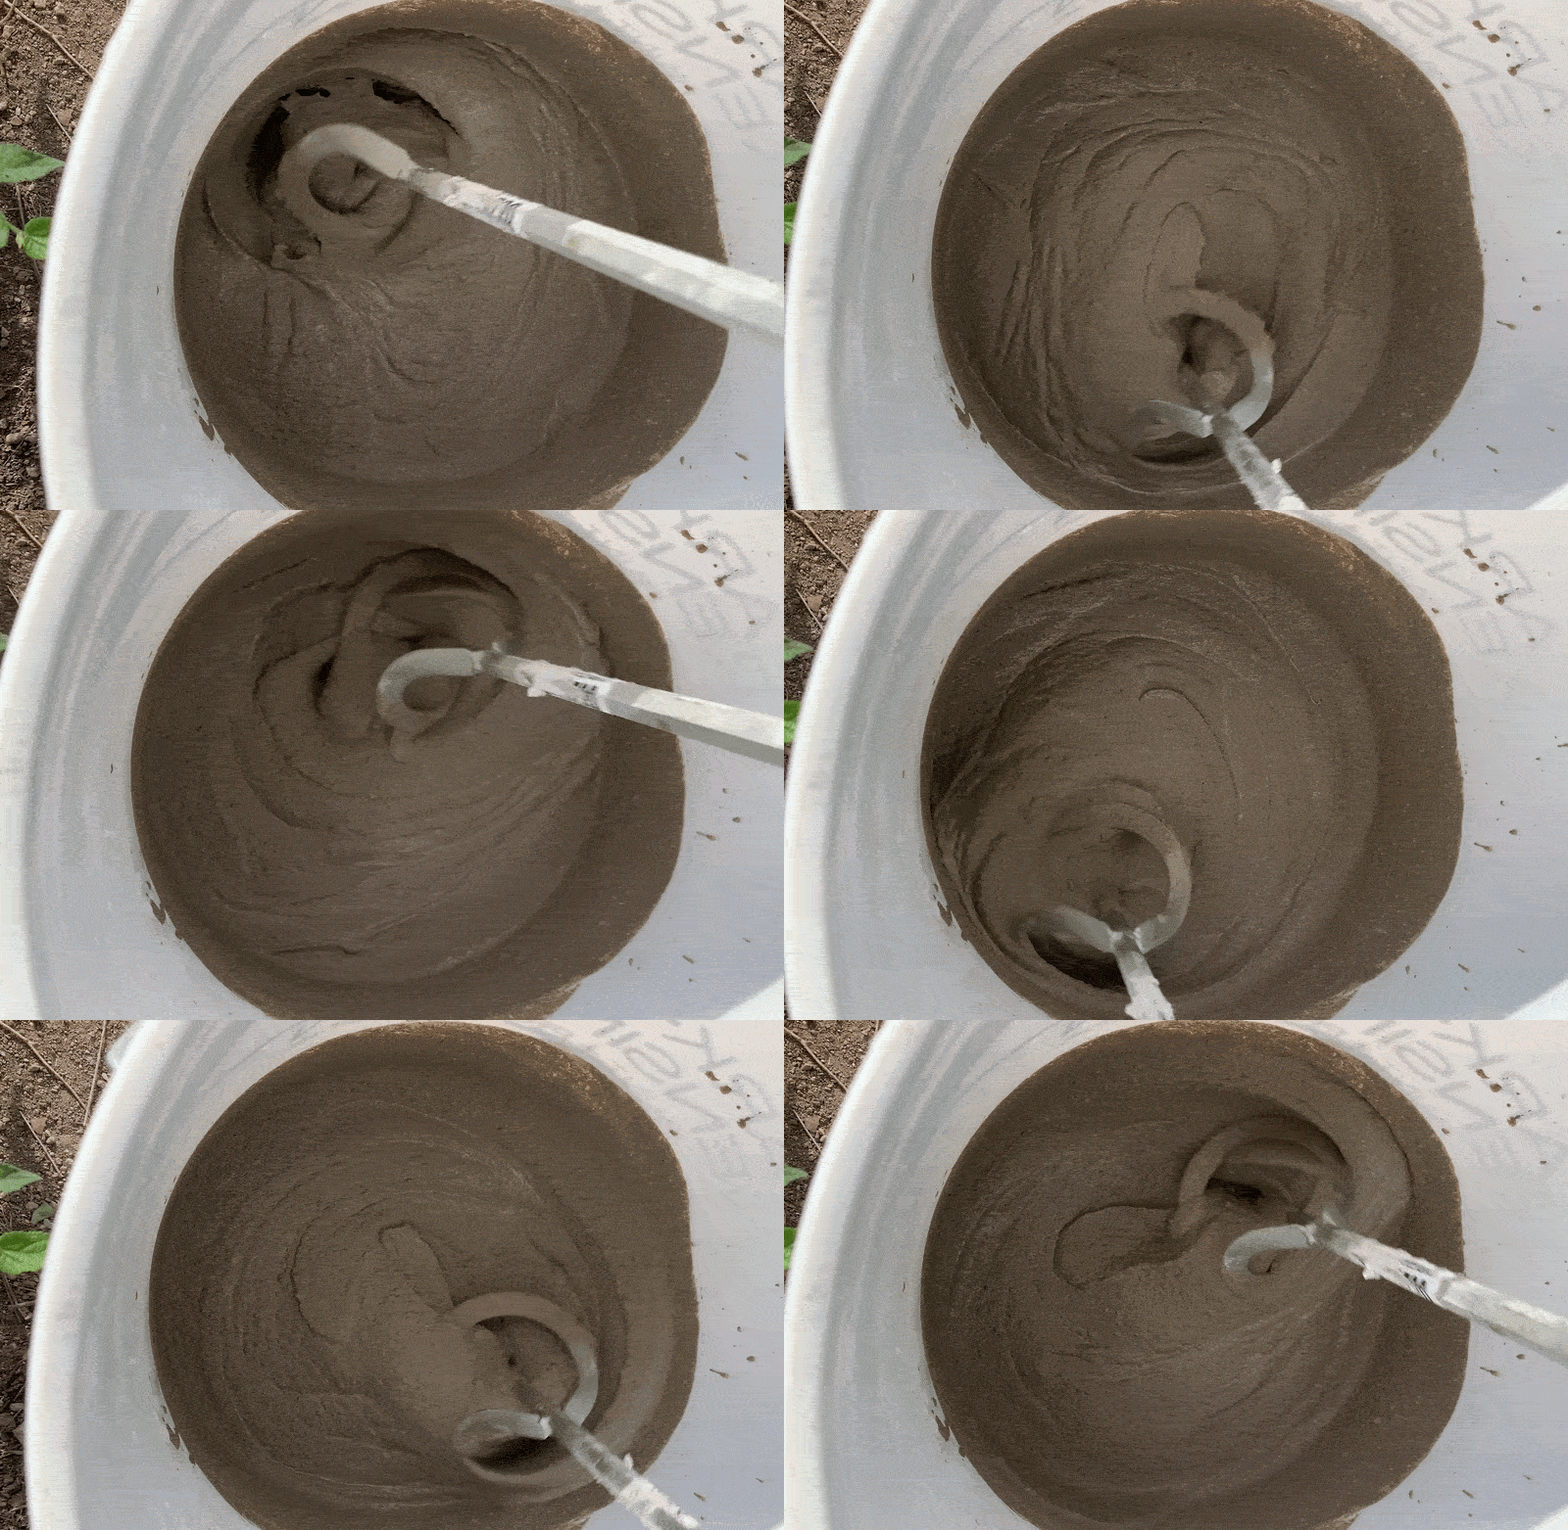
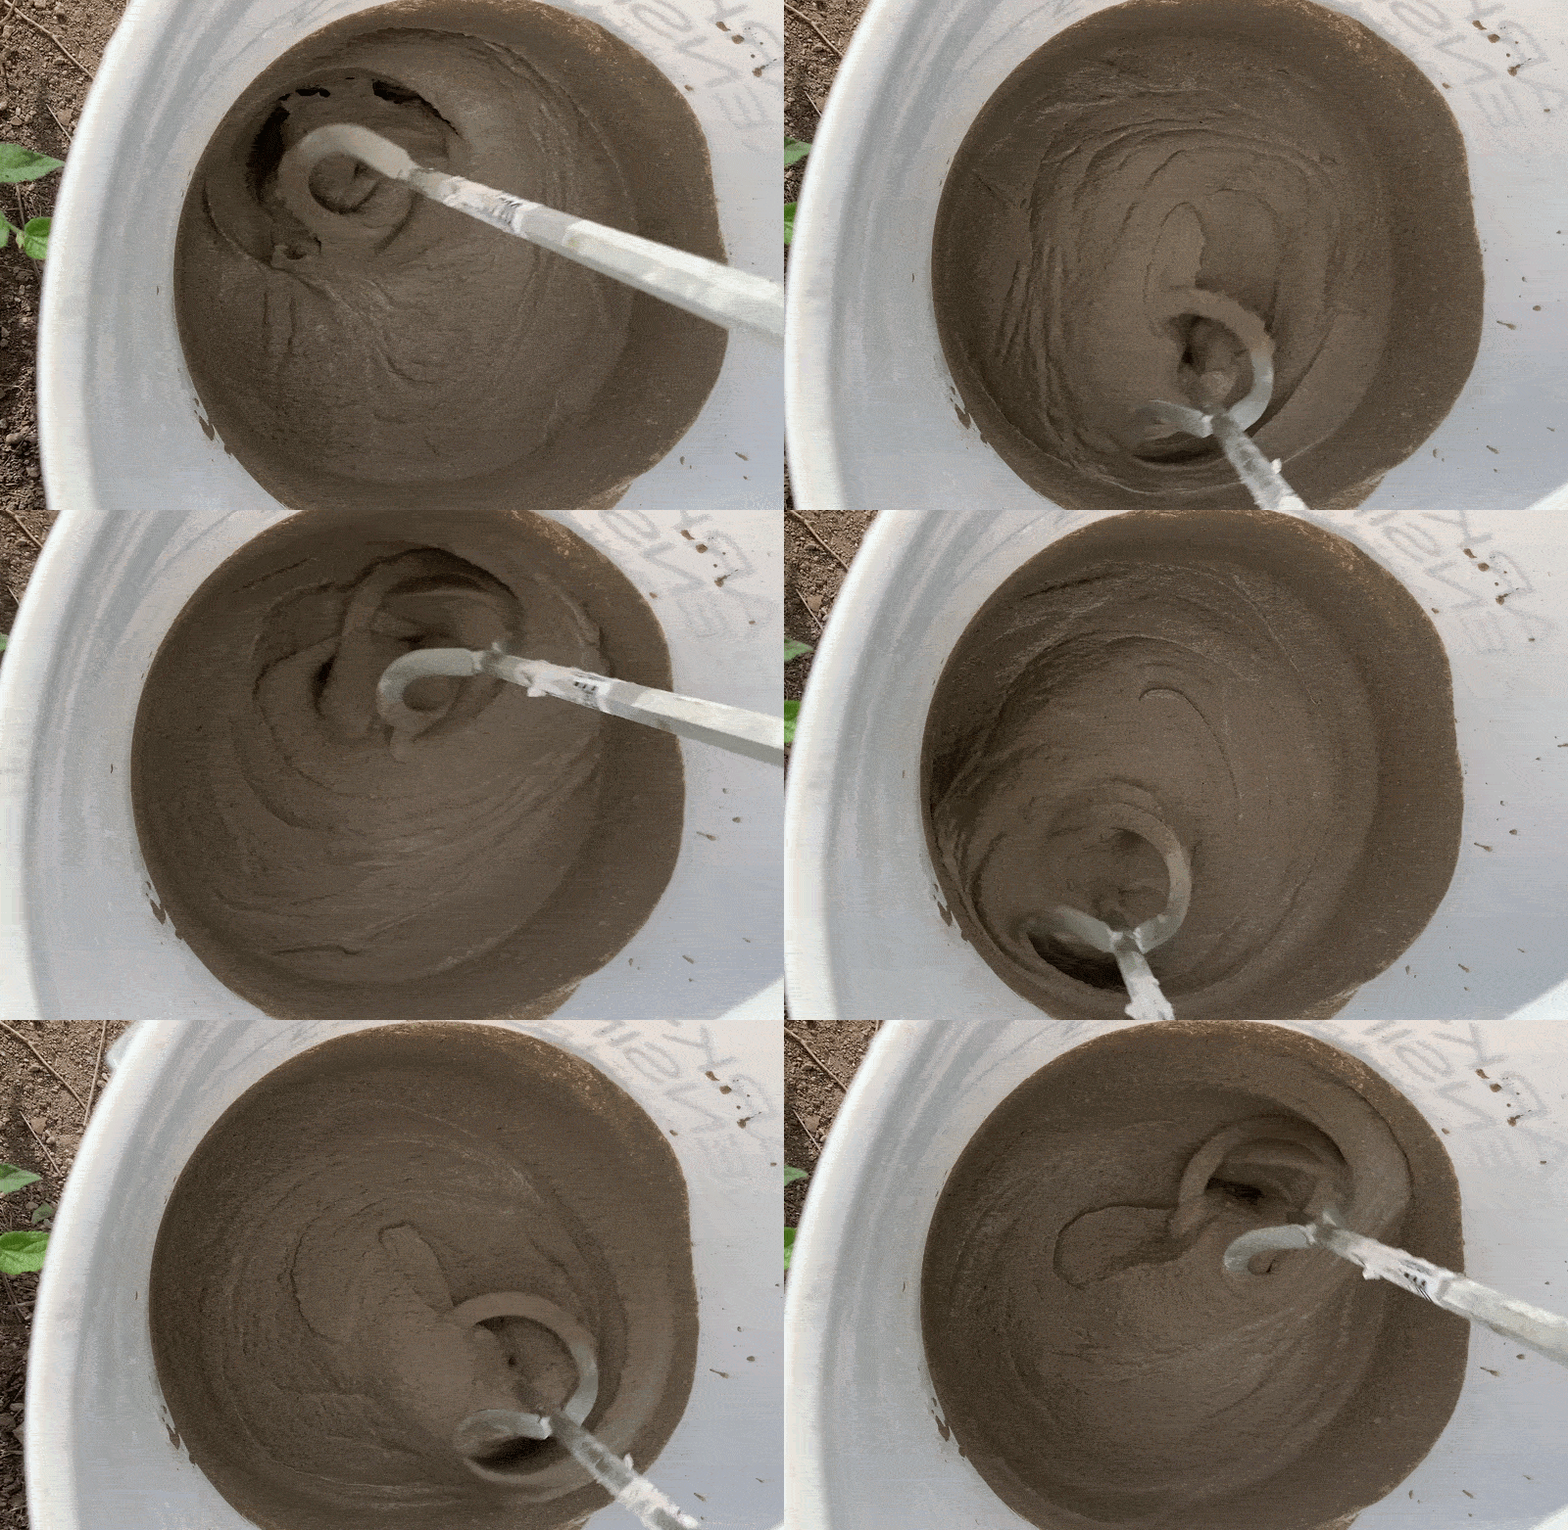
If you have intricate designs, you might want to do a layer of a mortar mix first. For this first layer of cement I use about half of a 60lbs bag of cement mix for my 17 x 17 inch paver. You could also do a concrete mix if you’d prefer. You also want to mix it on the watery side so that it gets in all the nooks and crannies. The consistency I like reminds me of pancake batter. Start with a water to cement ratio of 1:4 and adjust until you reach a watery consistency. Remember to pour dry mix into wet for easier mixing!
Level slightly with metal trowel.
Add the wire mesh so that it’ll be in the middle of the cement layers.
Add another layer of cement mix. I like using a concrete mix after I put the mesh on. For this last layer I use about half of a 60lbs cement mix bag. You want your pavers to be about 1.5 to 2 inches in thickness.
Level thoroughly with metal trowel.
Curing
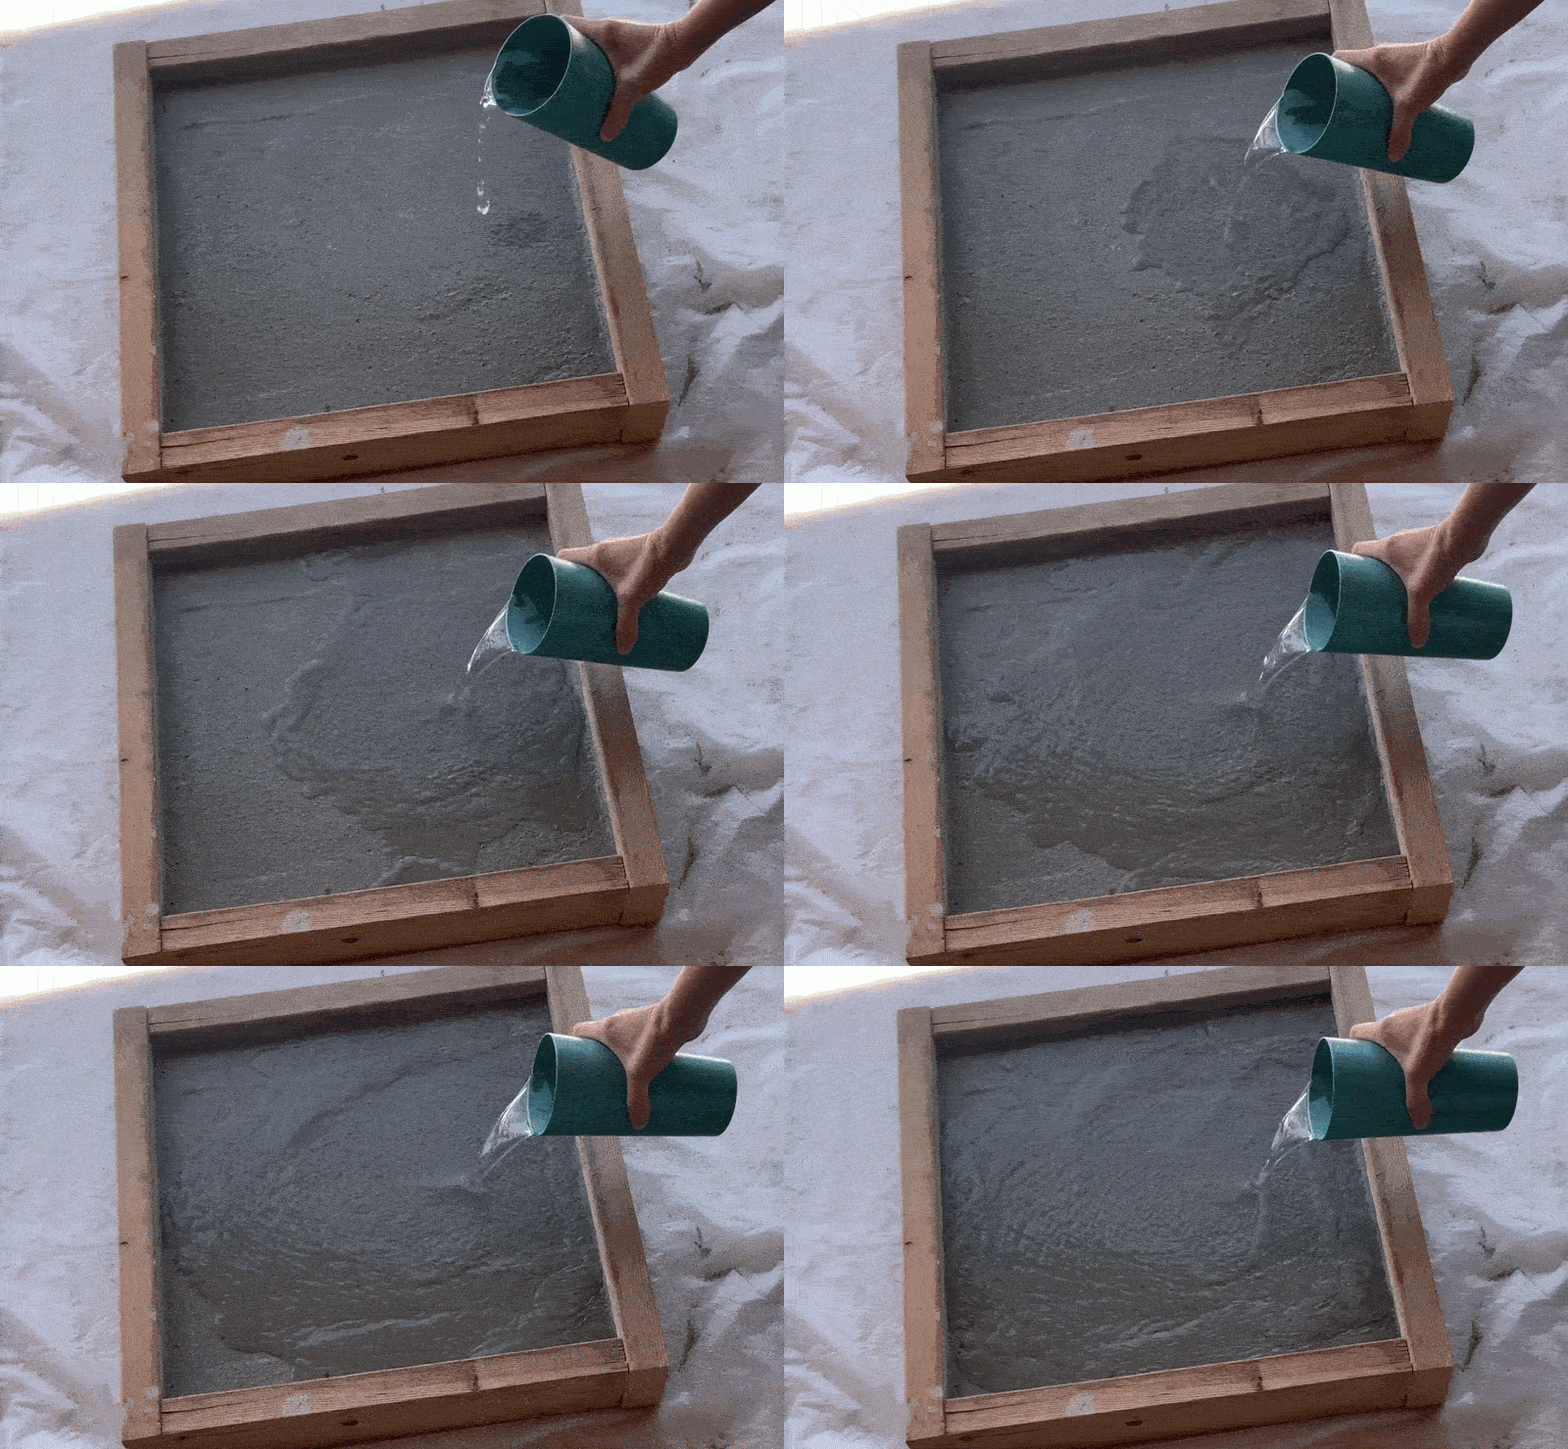
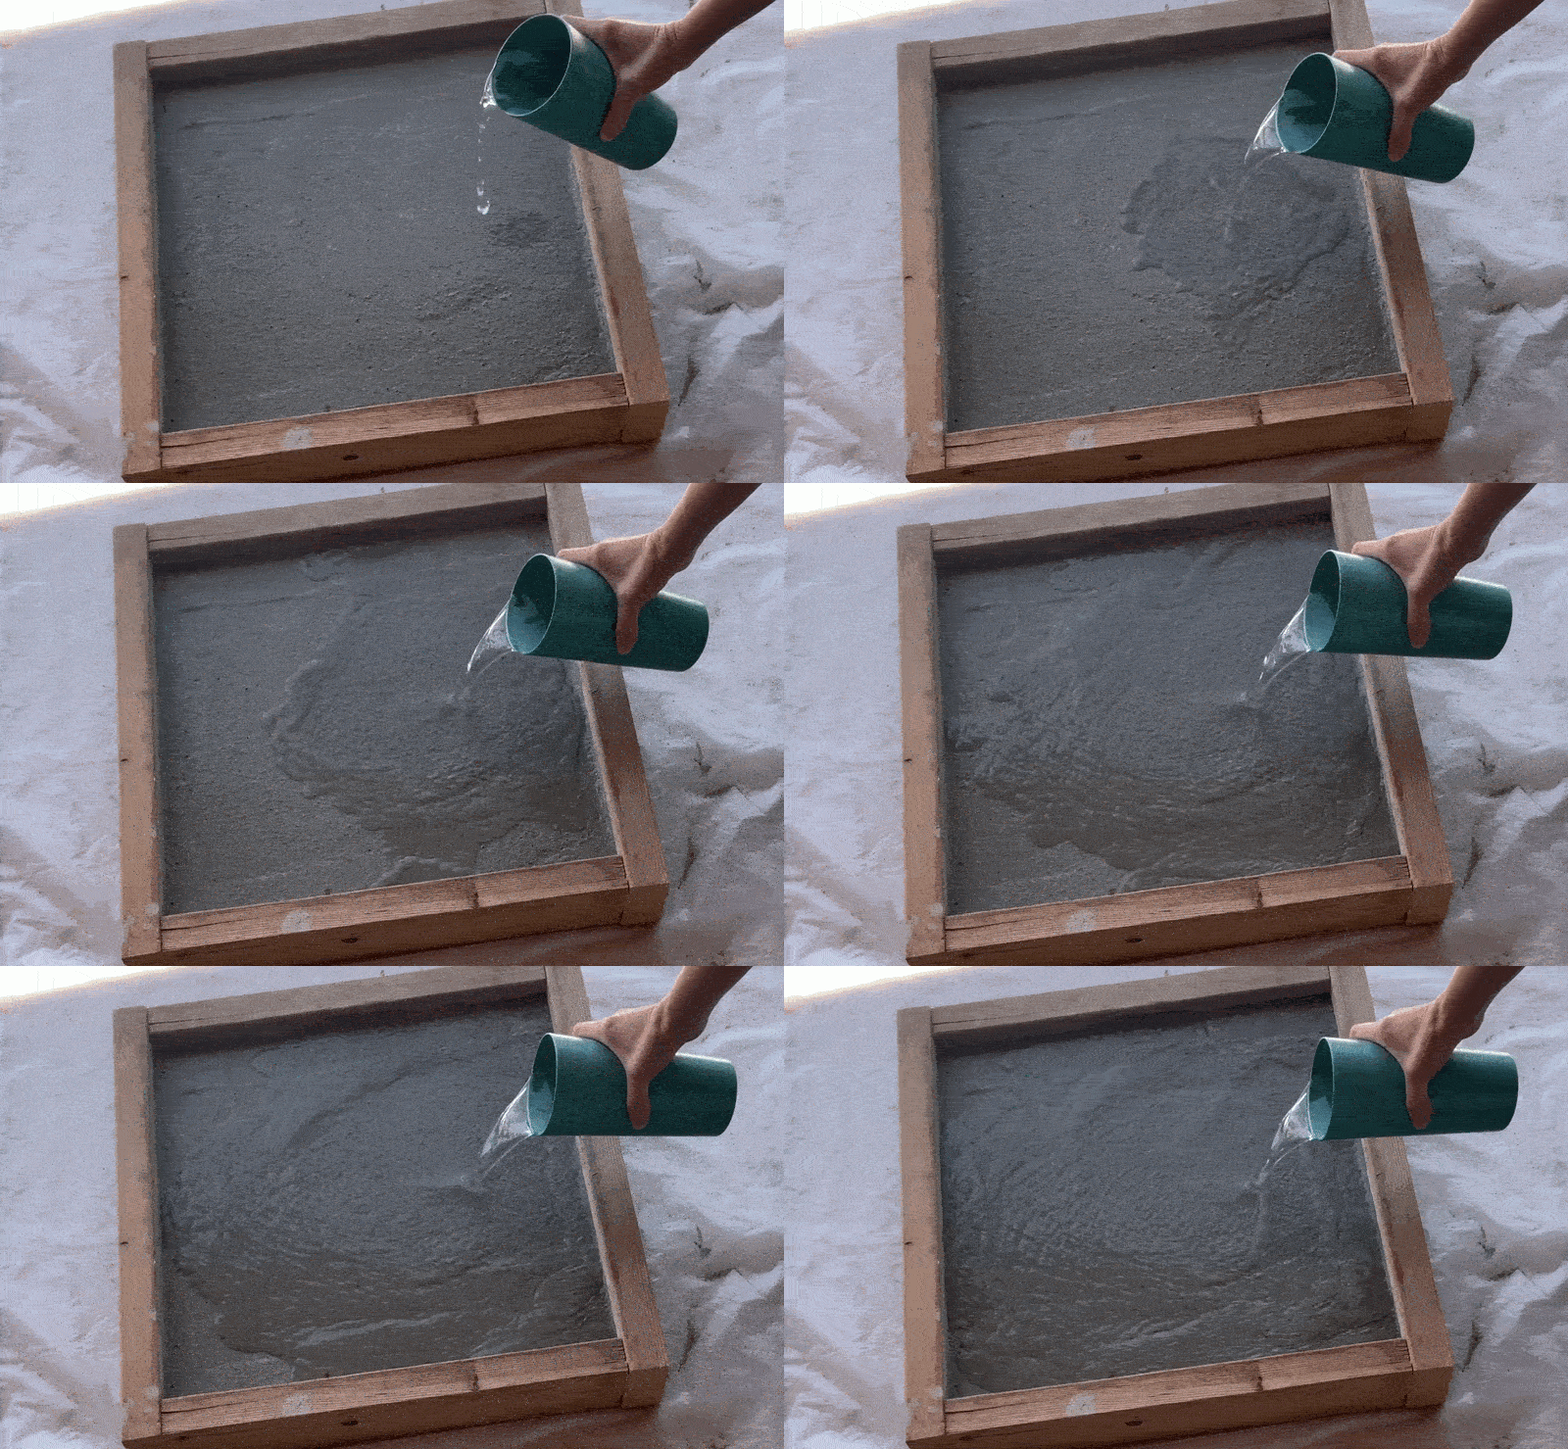
You want to cure your cement slowly so that you’re left with stronger cement. As soon as the cement feels firm to the touch, add water and cover with plastic to keep cement moist. Add water if cement starts looking dry. Let it cure slowly for a week. If you want really strong cement, leave it for 30 days. I find myself too impatient to wait that long…
Take your mold out.
Brush sand off.
To reuse your sand again, use the plastic sheeting under the paver to funnel the leftover sand into a container.
If using a concrete sealer, follow the instruction manual of the product for application.
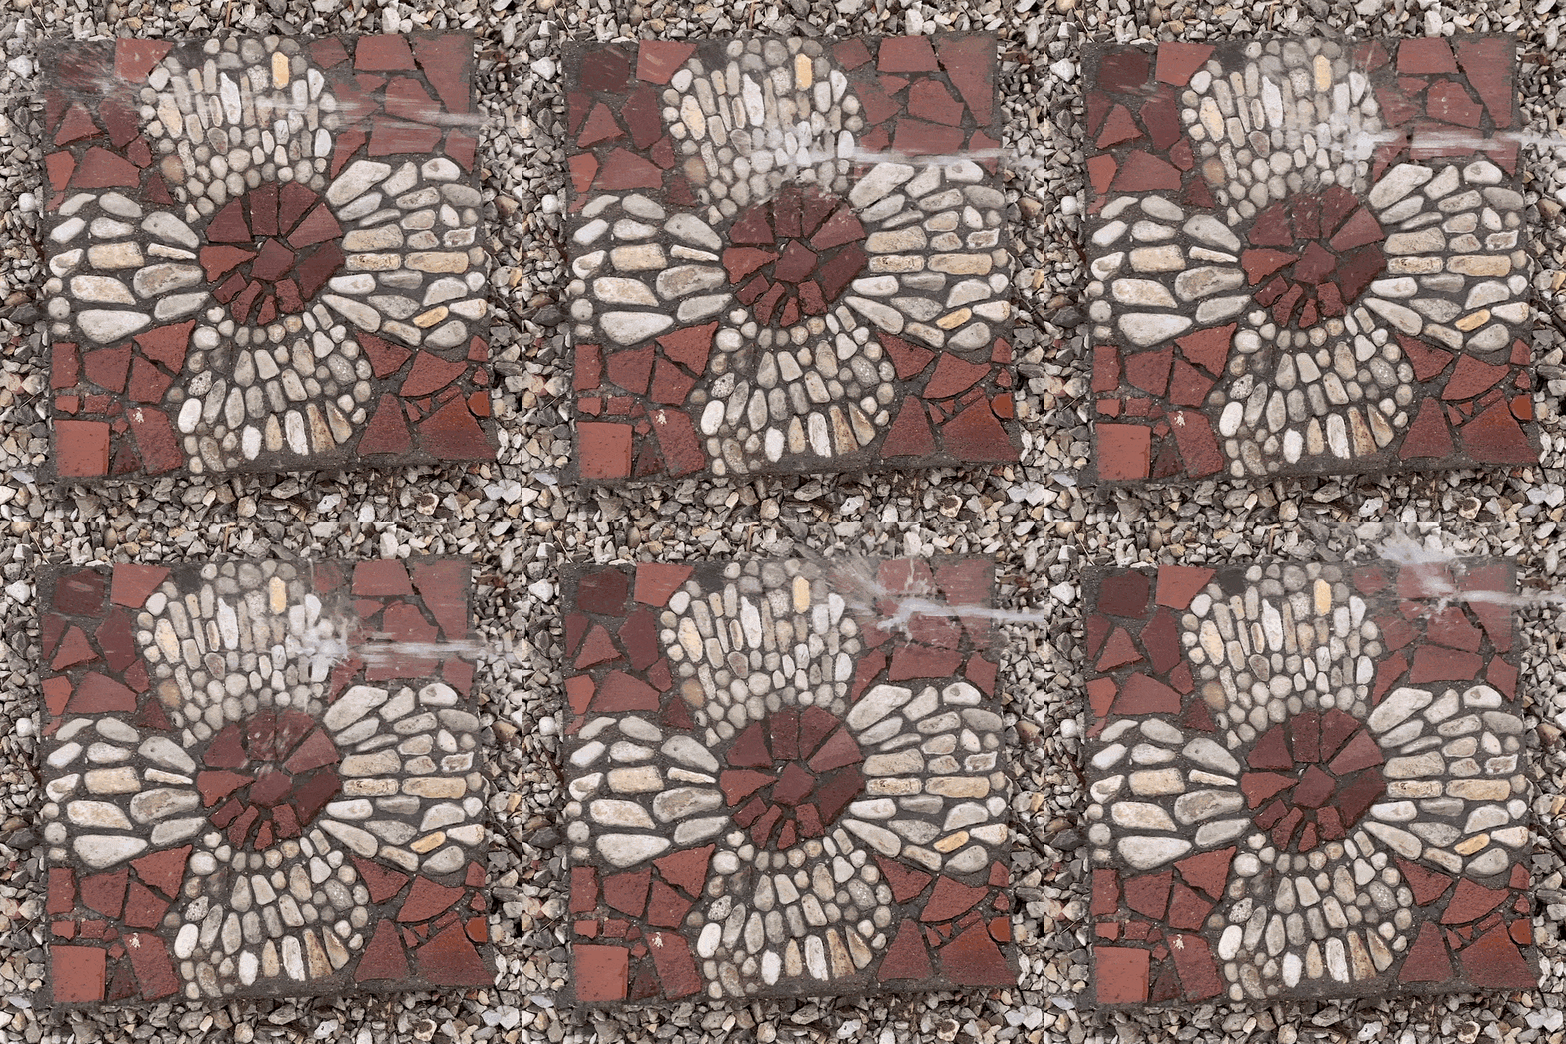
That’s it! Enjoy your paver!
With love,
Raquel
Raquel, what a fabulous guide! I’m sure many people will find it extremely helpful!